Create a ticket
See below how to create a ticket from the GI of Desktale.
Creating a new ticket is an important operation for managing communication with your clients or stakeholders and/or among your collaborators, whether you’re using an external channel (email, widget, api) or just an internal one (indoor).
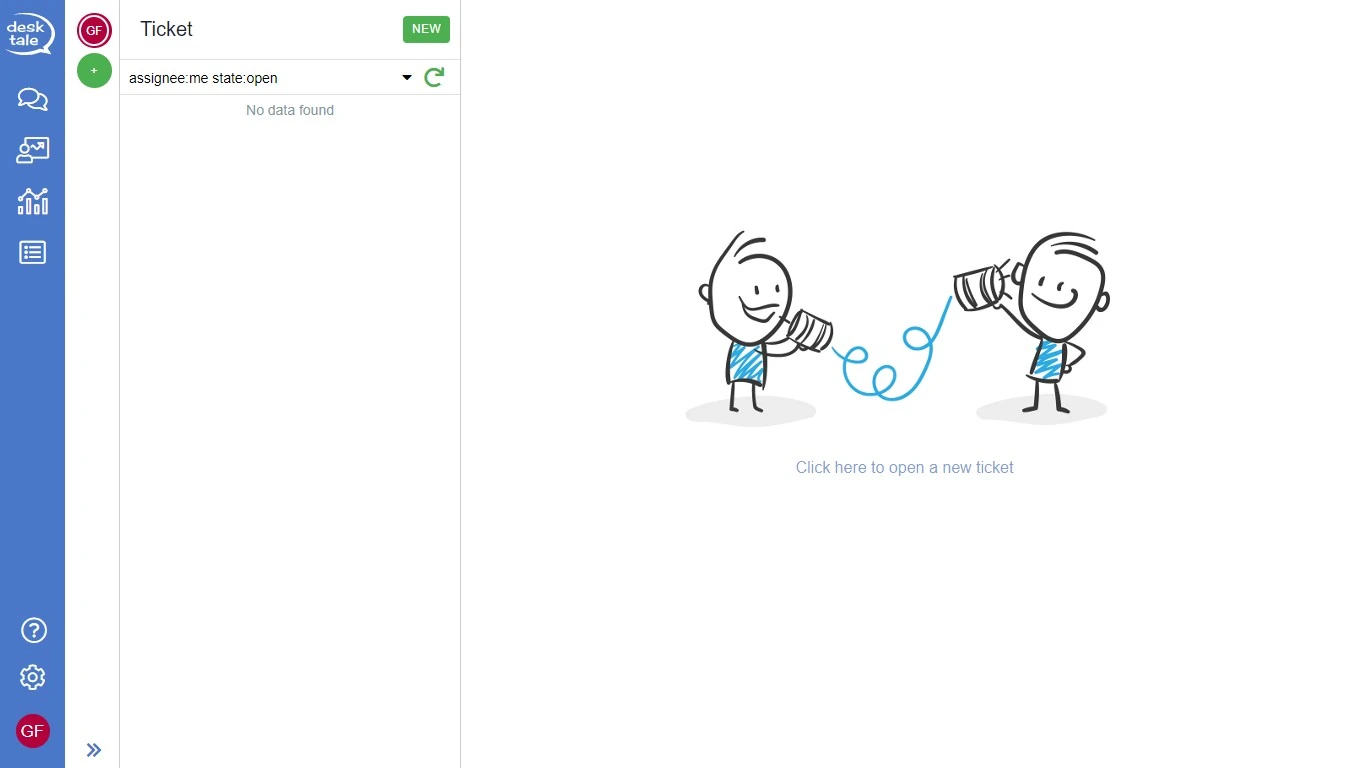
Make sure you are in the Ticket section and click on .
Next, click on NEW.
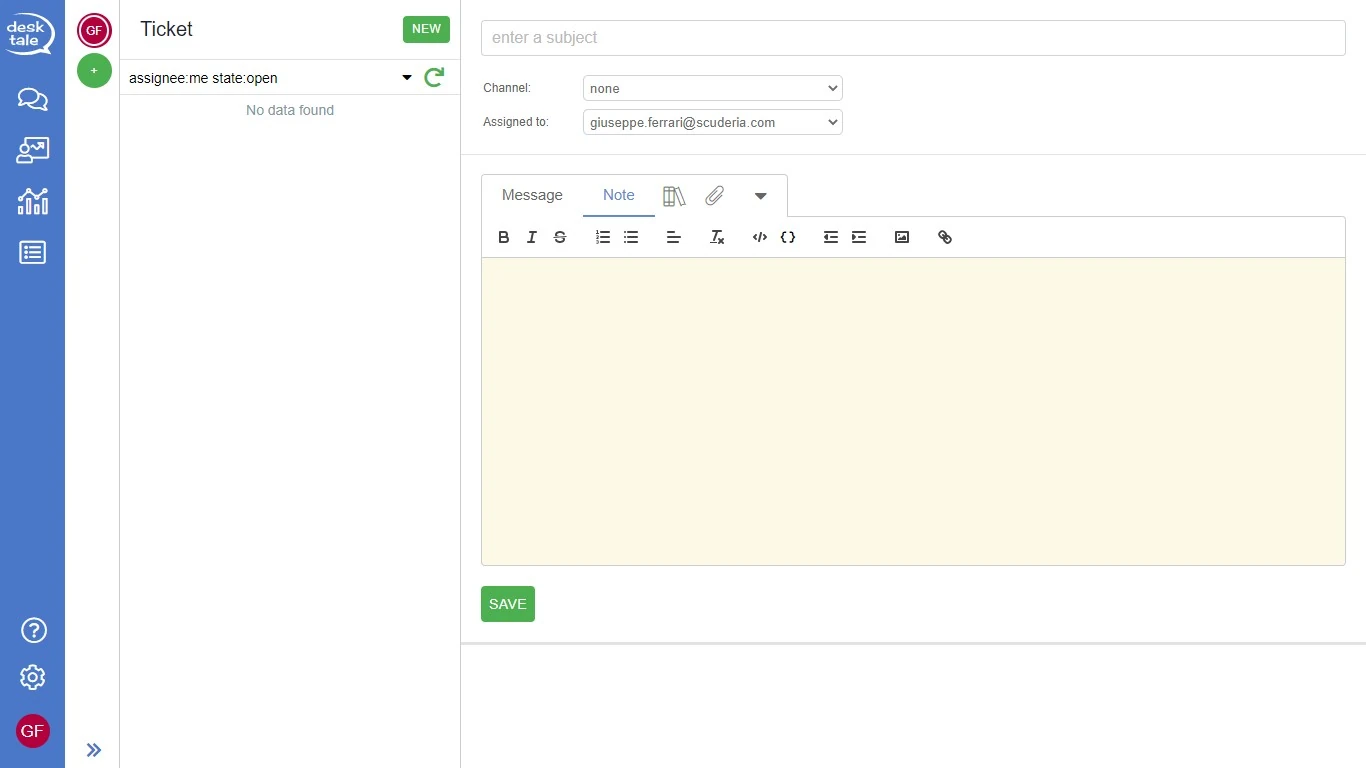
Fill in the following fields:
- Enter subject: enter the ticket subject (Message or Note) as the title;
- Channel: define the communication channel, it is required if you want to send an email;
- Assigned to: indicates the recipient user or folders.
At this point, you can write a Note, or a Message.
The writing space is provided with a number of editorial tools you may find useful for writing content, inserting one or more attachments, putting a link, creating ready replies and more.
Note
In the case of a Note, once you have written the relevant text, click on SAVE and thus proceed, simultaneously, to transmit it to the ticket assignee (user or folder).
Message
If you wish to send a message via email, set the tab to Message; in this case, unlike the Note, you will have additional fields to complete:
- Send to (required);
- Cc (carbon copy);
- Bcc (blind carbon copy);
- From (required): the field is automatically filled in when the transmission channel is chosen.
Once you have written the content of your Message, click on SAVE AND SEND.
Ticket management
At any time you can assign a ticket to another contributor user in the group, or to a folder.
Assigned to
To edit the assignment, simply select a different User or Folder in the Assigned to field and then click on to update and see the operation completed.
This process also applies if you want to reassign a ticket that you mistakenly assigned to someone else.
Ticket reassignment does not change the submission history, nor does it change the communication history.
Channel
To move forward, simply select a different Channel in the Channel field and then click on to update and see the operation successfully completed.
Close
If you wish to close a ticket, and then proceed to permanently close the communication, click on CLOSE TICKET.
Reply
If you receive a Note from a contributing user, and you want to reply, click on ADD NOTE or on REPLY to respond by sending them an email.
Once you have opened the reply Message option and filled in the text field, click on REPLY to respond, leaving the communication open, or on SAVE AND SEND to reply and close it.
More
By clicking on OTHER, the following tools are accessed:
- Export ticket (available formats are json and csv);
- Print ticket.